 Save
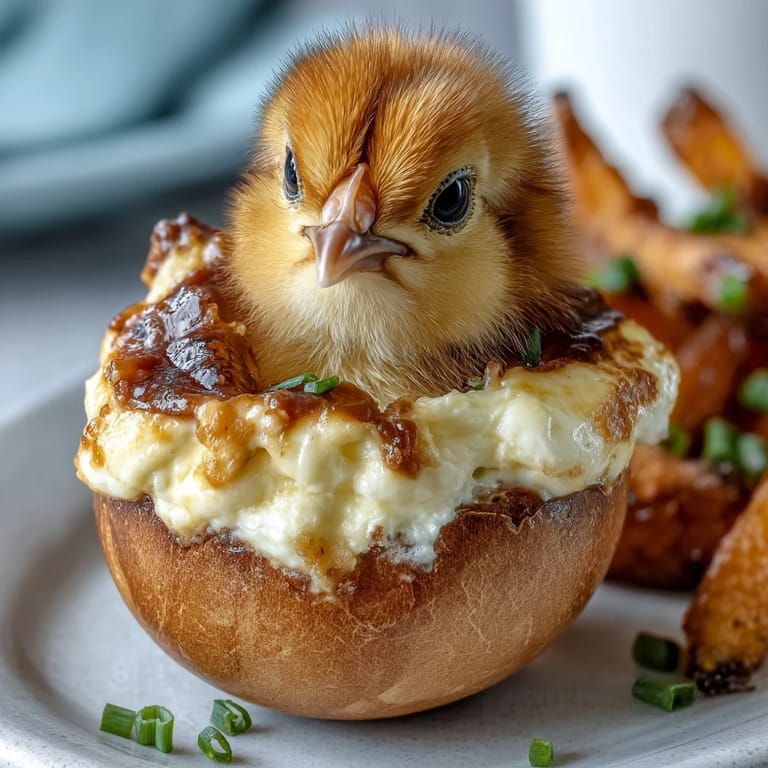
Save These adorable Deviled Egg Chicks bring whimsy and charm to any Easter celebration or spring gathering. Combining the classic creamy tang of traditional deviled eggs with delightful decorative touches, these little hatching chicks are sure to bring smiles to faces of all ages. With their tiny carrot beaks, peppercorn eyes, and jaunty egg-white caps, they transform a beloved appetizer into an interactive, playful centerpiece that's almost too cute to eat—almost.
Save What makes these Deviled Egg Chicks truly special is the balance between simplicity and creativity. The filling stays true to the classic deviled egg recipe—rich, creamy, and perfectly seasoned with mustard and vinegar—while the presentation elevates it into something memorable. The process of transforming hard-boiled eggs into baby chicks hatching from their shells is surprisingly straightforward, making this an ideal recipe for involving children in the kitchen. Each chick becomes a little edible work of art, and the joy of creating them is matched only by the delight of serving them.
Ingredients
Tired of Takeout? 🥡
Get 10 meals you can make faster than delivery arrives. Seriously.
One email. No spam. Unsubscribe anytime.
- Eggs: 12 large eggs
- Filling: 3 tablespoons mayonnaise, 1 teaspoon yellow mustard, 1 teaspoon white vinegar, ¼ teaspoon salt, ⅛ teaspoon ground black pepper
- Decoration: 24 whole black peppercorns (for eyes), 1 medium carrot (for beaks and feet), Optional: fresh chives or parsley for garnish
Instructions
- Step 1: Boil the Eggs
- Place eggs in a single layer in a large saucepan and cover with cold water. Bring to a boil over medium-high heat. Once boiling, cover, remove from heat, and let stand for 10 minutes.
- Step 2: Cool the Eggs
- Transfer eggs to a bowl of ice water and let cool completely, about 5 minutes.
- Step 3: Peel and Dry
- Gently peel the eggs and pat dry.
- Step 4: Cut the Eggs
- For each egg, slice a small portion off the bottom so the egg stands upright. Slice off the top ⅓ of the egg (horizontally) to create a cap.
- Step 5: Separate Yolks
- Carefully remove yolks and transfer to a bowl. Place egg whites on a serving tray.
- Step 6: Make the Filling
- Mash yolks with mayonnaise, mustard, vinegar, salt, and pepper until smooth and creamy.
- Step 7: Fill the Eggs
- Using a spoon or piping bag, fill the bottom egg whites with the yolk mixture, mounding it slightly to form the chicks head.
- Step 8: Add the Caps
- Place the egg white caps back on at a jaunty angle to resemble a chick hatching.
- Step 9: Create Beaks and Feet
- Cut tiny triangles from the carrot for beaks, and small slivers for feet. Gently press the beaks and feet into the yolk mixture.
- Step 10: Add Eyes
- Add two black peppercorns for eyes on each chick.
- Step 11: Garnish and Serve
- Garnish with fresh chives or parsley if desired. Serve chilled.
Zusatztipps für die Zubereitung
For perfectly cooked eggs with no green ring around the yolk, timing is everything. The ice bath immediately after cooking stops the cooking process and makes peeling much easier. When slicing the eggs, use a sharp, thin knife and wipe it clean between cuts for the neatest presentation. If the yolk mixture seems too thick, add a tiny splash of vinegar or a bit more mayonnaise to reach a pipeable consistency. For the most stable chicks, ensure the bottom slice is flat enough for the egg to stand securely. When cutting carrot decorations, use a small paring knife and cut with precision—tiny triangles for beaks and thin rectangular slivers for feet work best. If you're making these ahead, keep the decorated eggs covered in the refrigerator and add any fresh herb garnishes just before serving to maintain their vibrant color.
Varianten und Anpassungen
This recipe is wonderfully adaptable to different tastes and dietary needs. For a lighter version, swap the mayonnaise for Greek yogurt, which adds a pleasant tang while reducing calories. If you prefer a more intense flavor, add a pinch of smoked paprika or cayenne pepper to the yolk mixture. For softer eyes that are easier for young children to eat, use small pieces of black olives instead of whole peppercorns. Fresh herbs like dill, chives, or tarragon can be mixed into the filling for an extra layer of flavor. If you want to make these even more festive, consider using natural food coloring to tint the filling a pale yellow for a more chick-like appearance. For an adult gathering, add a touch of Dijon mustard or a dash of hot sauce to give the filling more depth. The carrot decorations can also be replaced with thin slices of bell pepper for different colors and flavors.
Serviervorschläge
Deviled Egg Chicks are best served chilled on a large platter or individual serving plates. For an Easter brunch, arrange them on a bed of fresh lettuce or baby spinach to create a nest effect, and scatter some edible flowers around for extra spring charm. They pair beautifully with other finger foods like vegetable crudités, cheese cubes, and fresh fruit. For a complete spring menu, serve alongside honey-glazed ham, asparagus salad, and hot cross buns. These chicks also make delightful additions to picnic baskets or potluck spreads. If you're hosting a children's party, create a barnyard scene by arranging the chicks with other animal-themed snacks. For beverage pairings, consider light, refreshing options like sparkling lemonade, iced tea, or for adults, a crisp white wine or champagne. Remember to keep them refrigerated until just before serving to maintain freshness and food safety.
 Save
Save These Deviled Egg Chicks prove that food can be both delicious and delightful. They transform a simple appetizer into a conversation starter and create lasting memories around the table. Whether you're celebrating Easter, welcoming spring, or simply looking for a fun weekend project with the kids, these charming little chicks deliver smiles along with satisfying flavor. The best part? They taste just as good as they look, with that perfect balance of creamy, tangy filling that makes deviled eggs a timeless favorite. So gather your eggs, sharpen your knife, and get ready to hatch a batch of the cutest appetizers your guests have ever seen.
Questions & Answers
- → How do I hard boil eggs perfectly for this dish?
Place eggs in cold water, bring to a boil, then cover and remove from heat. Let them stand for 10 minutes before cooling in ice water.
- → Can I substitute mayonnaise in the filling?
Yes, Greek yogurt is a lighter alternative that still creates a creamy filling for the chicks.
- → What can I use instead of black peppercorns for eyes?
Small black olive pieces work well as softer, edible eyes on each egg chick.
- → How do I make the chicks stand upright?
Slice a small portion off the egg bottoms so they can stand steadily on a serving tray.
- → Is it possible to prepare these in advance?
Yes, you can assemble and refrigerate the egg chicks for up to one day before serving.