 Save
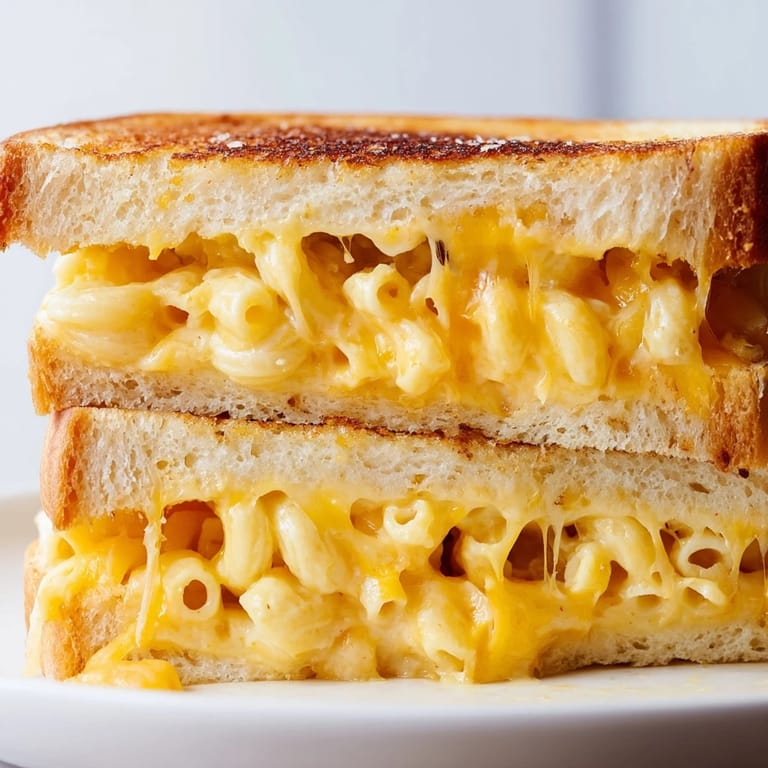
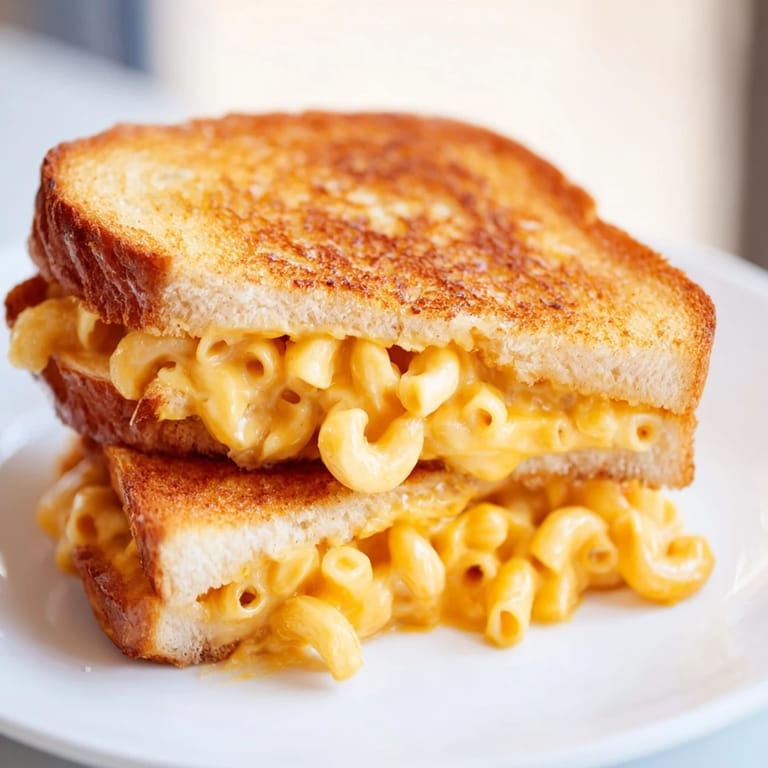
Save The skillet was too hot, and I panicked as the first slice of bread turned dark before the cheese inside even thought about melting. My roommate laughed from the doorway, asked what I was doing, and I held up a spoonful of leftover mac and cheese like it explained everything. It didn't, but after I lowered the heat and tried again, we both stood there chewing in silence, realizing I'd accidentally made something ridiculous and perfect. That sandwich became our late-night ritual for the rest of that semester.
I made these for my nephew once, and he refused to believe it was a real recipe. He kept asking if I invented it, like I'd broken some kind of food rule by putting pasta inside bread. When he finished his second sandwich, he looked up and said it was better than pizza, which coming from a seven year old is the highest possible praise. Now every time he visits, he asks if we can make the pasta sandwiches, and I pretend to think about it before pulling out the skillet.
Ingredients
- Elbow macaroni: The small tubes hold onto the cheese sauce beautifully, and their size makes them easy to spread evenly on bread without creating lumpy sandwiches.
- Sharp cheddar cheese: The sharpness cuts through the richness of the butter and bread, adding a tangy depth that keeps the sandwich from feeling too heavy.
- Whole milk: It makes the cheese sauce creamy without being overly thick, and I learned the hard way that skim milk just doesn't give you the same silky texture.
- Unsalted butter: You need it twice, once in the mac and cheese for richness, and again on the bread to get that golden, crispy crust.
- Sourdough or sandwich bread: Sourdough adds a slight tang that complements the cheese, but any sturdy bread works as long as it can hold the filling without getting soggy.
- Extra cheese slices: Totally optional, but adding a slice of American or cheddar between the mac and cheese and the bread creates an extra melty layer that holds everything together.
Tired of Takeout? 🥡
Get 10 meals you can make faster than delivery arrives. Seriously.
One email. No spam. Unsubscribe anytime.
Instructions
- Cook the macaroni:
- Boil the pasta in salted water until it still has a little bite, because it will soften more when you mix it with the hot cheese sauce. Drain it well so you don't end up with a watery filling that makes the bread soggy.
- Make the cheese sauce:
- Melt the butter in the same pot, then stir in the drained pasta, milk, shredded cheese, and pepper until everything comes together in a thick, creamy sauce. Let it cool for a few minutes so it thickens up and stays put when you scoop it onto the bread.
- Assemble the sandwiches:
- Butter the outside of each slice, then pile the mac and cheese on the unbuttered side, adding an extra cheese slice if you want that gooey factor. Press the top slice on gently, buttered side out, so it's ready for the skillet.
- Cook the sandwiches:
- Set your skillet to medium heat and resist the urge to crank it up, because slow and steady gives you golden bread and melted cheese without burning. Press down lightly with your spatula as they cook, flipping once, until both sides are crisp and the inside is warm and gooey.
- Rest and serve:
- Let the sandwiches sit for a minute or two after you take them off the heat, which helps the cheese set just enough so it doesn't all spill out when you cut in. Slice them in half and serve them hot, maybe with a napkin nearby.
 Save
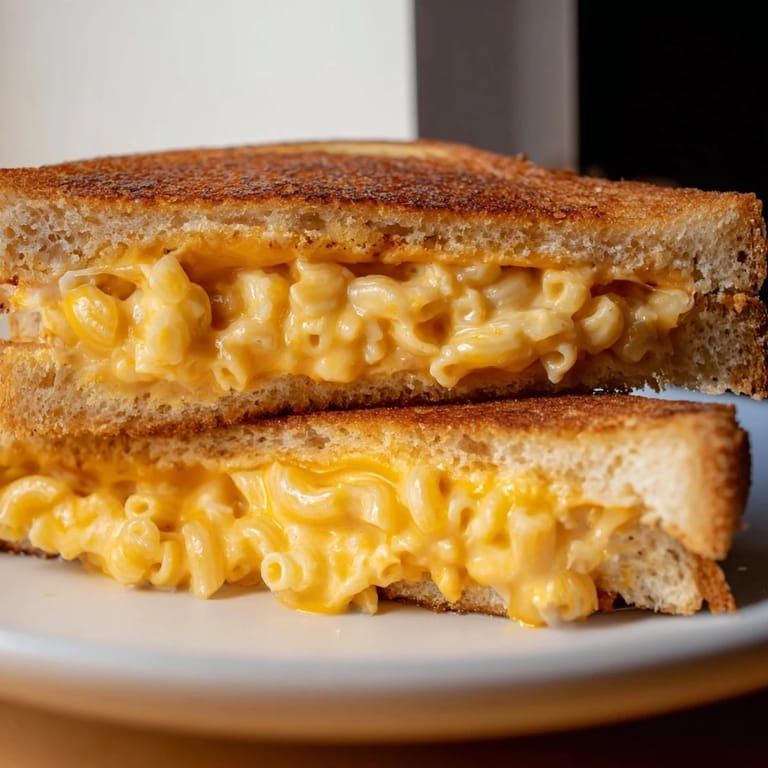
Save One night I made these for a friend who was going through a rough breakup, and we sat on the kitchen floor eating them straight from the skillet because neither of us felt like setting the table. She didn't say much, but halfway through her sandwich she smiled for the first time in days, and I realized that sometimes comfort food isn't just about taste. It's about the moment it creates, the pause it gives you, the way it reminds you that small pleasures still exist even when everything else feels hard.
Making It Your Own
Once you get the basic sandwich down, it's easy to riff on it with whatever you have in the fridge. I've stirred in crumbled bacon, chopped chives, and even a spoonful of hot sauce when I wanted a little heat. A thin slice of tomato tucked inside before you close the sandwich adds a bright, juicy contrast that cuts through the richness. You can also swap the cheddar for pepper jack or gouda, or use a flavored bread like jalapeño cheddar if you're feeling adventurous.
Leftovers and Storage
These sandwiches are best eaten fresh, but if you have extra mac and cheese, you can store it in the fridge for up to three days and make sandwiches as you go. I don't recommend assembling the sandwiches ahead of time because the bread will get soggy, but you can prep the mac and cheese and keep the bread and butter ready so it only takes a few minutes to cook one when the craving hits. If you do end up with a leftover cooked sandwich, reheat it in a skillet over low heat rather than the microwave so the bread crisps up again.
Serving Suggestions
I almost always serve these with a bowl of tomato soup on the side, because dipping a mac and cheese grilled cheese into warm soup feels like the ultimate cozy meal. A simple green salad with a tangy vinaigrette helps balance out the richness, or you can go full indulgence and serve them with crispy potato chips or pickles for crunch. If you're feeding kids, cut the sandwiches into quarters so they're easier to handle, and don't be surprised if they ask for seconds.
- Pair with tomato soup for dipping and a nostalgic lunch vibe.
- Add a handful of arugula or spinach inside the sandwich for a peppery bite.
- Serve with pickles or chips on the side to add crunch and cut through the richness.
 Save
Save This sandwich doesn't need a special occasion, it just needs a skillet and a willingness to embrace the fact that sometimes the best meals are the ones that make you smile before you even take a bite. Make it once, and it'll become one of those recipes you come back to whenever you need something easy, comforting, and just a little bit ridiculous in the best possible way.
Questions & Answers
- → Can I prepare the mac and cheese ahead of time?
Yes, you can make the mac and cheese up to 2 days in advance and refrigerate it. Warm it gently before assembling your sandwiches to ensure it spreads easily and melts properly when grilled.
- → What type of bread works best?
Sourdough, brioche, or thick-cut sandwich bread work wonderfully. Avoid thin bread that may become too soft when filled with warm mac and cheese. The sturdier the bread, the better the structure and texture.
- → How do I prevent the sandwich from falling apart?
Let the mac and cheese cool slightly after cooking so it thickens and holds together better. Don't overfill each sandwich—about 1/4 cup per slice is ideal. Press gently while grilling to help seal the filling inside.
- → Can I add protein to this sandwich?
Absolutely. Crispy bacon bits, diced ham, or crumbled sausage mix beautifully into the mac and cheese. You can also layer thin slices of deli turkey or chicken for added substance and flavor.
- → What's the best way to grill without burning the bread?
Use medium heat and avoid high temperatures that char the exterior before the inside heats through. Cook 3–4 minutes per side, pressing gently with a spatula. Listen for the cheese to bubble slightly inside as an indicator it's melting properly.
- → How can I make this vegetarian-friendly?
This sandwich is already vegetarian. Ensure your cheese and bread ingredients are vegetarian-certified if needed. Skip the bacon or meat additions and focus on flavorful additions like fresh herbs, hot sauce, or sautéed vegetables.