 Save
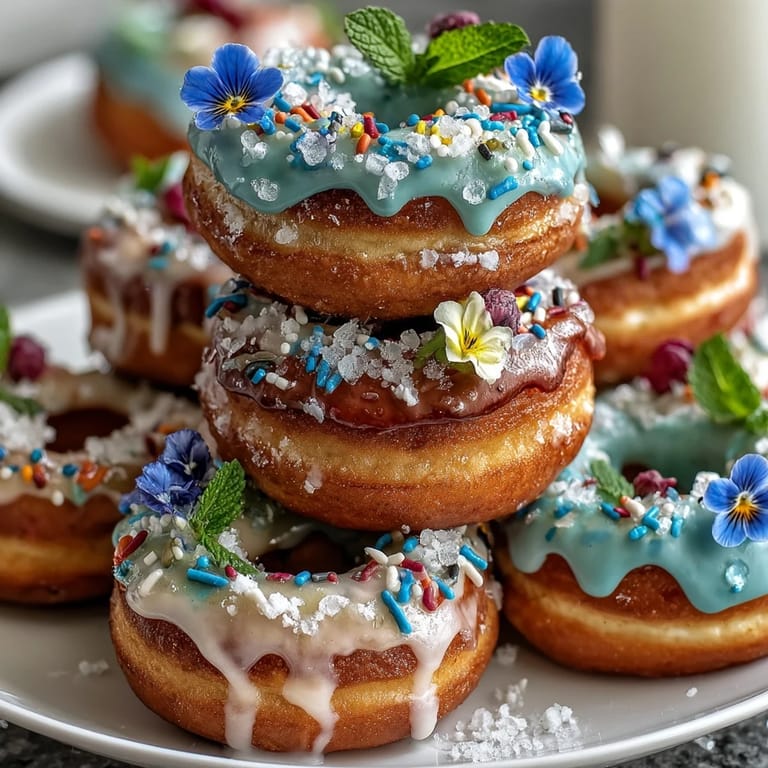
Save My friend texted me a photo of a donut tower she'd seen at her cousin's baby shower, and honestly, I was skeptical at first—it looked too delicate, too Pinterest-perfect to actually pull off in a home kitchen. But then I realized the genius of it: you're basically just stacking mini donuts on a cone and tucking flowers between them, which meant I could actually make something that looked showstopping without stress. That afternoon, I found myself in my kitchen with a foam cone, a bag of glazed mini donuts, and a handful of edible pansies, discovering that sometimes the most charming desserts are the ones that don't require you to be a pastry chef.
I brought this tower to a baby shower last spring, and watching the mom-to-be's face when she saw it arranged with those soft pink and lavender flowers was worth every second of assembly. What really struck me was how people didn't just eat the donuts—they photographed them, complimented the arrangement, and kept coming back for more, treating it more like art than dessert. That's when I understood the real magic: it's not about the donuts themselves, it's about creating a moment that feels special.
Ingredients
- Mini donuts (36-40 plain, glazed, or assorted): These are your foundation, and buying pre-made saves you hours; mix flavors and colors to keep the tower visually interesting and give guests options.
- Powdered sugar (1 cup): The base of your glaze, which you'll only need if you want to freshen up plain donuts or add color for a cohesive look.
- Milk or water (2-3 tbsp): Just enough to thin the powdered sugar into a silky glaze without making it runny.
- Vanilla extract (1/2 tsp, optional): A whisper of vanilla lifts the glaze, making even store-bought donuts taste a little more intentional.
- Food coloring (optional, pastel preferred): A drop or two creates soft, dreamy tones that complement the flowers beautifully.
- Rainbow or pastel sprinkles (1/4 cup, optional): These catch light and add texture without overwhelming the delicate flower aesthetic.
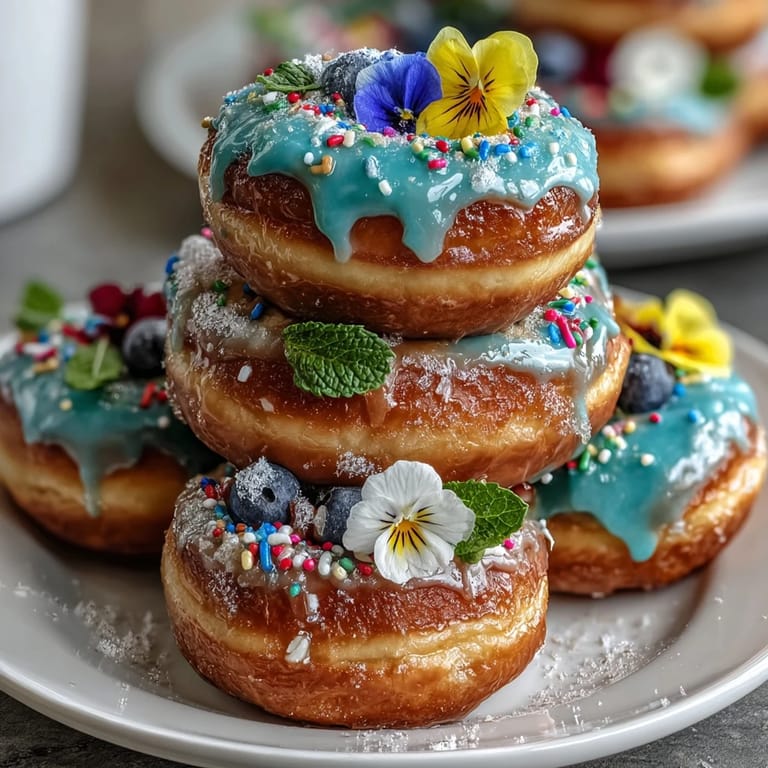
- Edible flowers (1 cup violets, pansies, nasturtiums, marigolds): The stars of the show—buy them from a specialty grocery or farmers market, and double-check they're pesticide-free before tucking them in.
- Fresh mint leaves (optional): A green accent that fills gaps and adds a fresh brightness between tiers.
- Foam cone (10-12 inches high) or tiered cake stand: Your structural base; the foam cone gives a classic tower shape, while a stand offers an elegant alternative.
- Toothpicks or wooden skewers: These anchor the donuts to the foam, so use sturdy ones and don't be shy about pushing them through.
Tired of Takeout? 🥡
Get 10 meals you can make faster than delivery arrives. Seriously.
One email. No spam. Unsubscribe anytime.
Instructions
- Make your glaze if you're going that route:
- Whisk powdered sugar with milk until you get something smooth and pourable—it should coat the back of a spoon without dripping off immediately. Add vanilla and a dot of pastel food coloring if you want, stirring until the color is even and dreamy.
- Dip and dress your donuts:
- Take each mini donut and dip the top into the glaze, letting excess drip back into the bowl, then immediately sprinkle if you're using them. Set the glazed donuts on parchment paper and let them firm up for at least 15 minutes while you set up your base.
- Prepare your structure:
- Place your foam cone on a serving platter or position your tiered stand where it'll stay—you don't want to move it once it's loaded with donuts and flowers. If using a cone, you might want to place a small doily or parchment underneath for a polished look.
- Build from the bottom up:
- Start at the base of your cone, pushing a toothpick through each donut and into the foam in overlapping circles, working your way up toward the top. Listen for the little resistance as the pick enters the foam—that's how you know it's secure and won't tumble mid-party.
- Tuck in the flowers:
- As you work up the tower, slip edible flowers and mint leaves into the gaps between donuts, rotating through different flower types so the color distribution feels natural and balanced. Step back every few rows to make sure nothing looks sparse or clumpy.
- Fill in the gaps:
- Once all donuts are placed, evaluate the spaces between them and nestle additional flowers, leaves, or a sprinkle of remaining sprinkles to create a full, abundant look with no awkward bare patches.
- Chill and serve:
- If you've made it more than an hour before serving, drape a loose piece of plastic wrap over it and refrigerate for up to 4 hours. Bring it to room temperature for 10 minutes before serving so the glaze is soft enough to enjoy.
 Save
Save There was a quiet moment at that baby shower when everyone had filled their plates and was sitting down, and I overheard the mom-to-be tell her sister that the tower made her feel celebrated—not because of the donuts themselves, but because someone had taken the time to arrange something beautiful just for her day. That's when I realized this recipe isn't really about construction or technique; it's about saying 'you matter' with something sparkly and edible.
Choosing Your Donut Varieties
The fun part is mix and matching flavors and colors to create a tower that feels intentional rather than random. I've done all-glazed in soft pink, all-chocolate with sprinkles, and mixed batches with some maple bars thrown in—each approach gives a different vibe. The key is picking flavors you'd actually eat, because these will get consumed quickly and you want to feel proud of what you're serving.
Edible Flowers and Food Safety
This is worth getting serious about for just a moment: not all flowers are safe to eat, and store-bought ornamental flowers are often treated with pesticides that have no business going into anyone's mouth. Seek out your local specialty market, farmers market, or online specialty food suppliers that explicitly label flowers as edible and pesticide-free. When in doubt, skip the flowers entirely—a tower of beautiful donuts with mint is still stunning and completely safe.
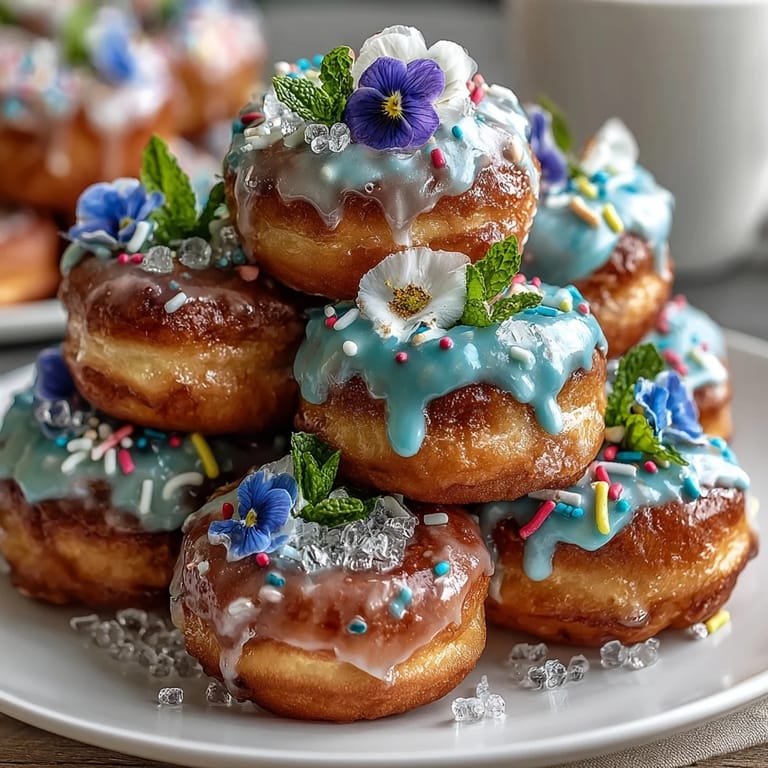
Styling Tips and Tricks
The visual impact of this tower lives or dies on how thoughtfully you place those flowers and how full you make it feel. Don't be stingy with the edible flowers—they're not expensive and empty spaces make the whole thing look rushed. A tiered stand creates a more formal look, while a foam cone feels whimsical and playful, so choose based on the vibe of your event. Here are the moves that make the biggest difference:
- Rotate your flower types so no single variety dominates any one section of the tower.
- Tuck mint leaves vertically rather than flat so they stand up and add dimension.
- Add flowers at the very last minute before serving so they stay visually crisp and colorful.
 Save
Save This tower has become my go-to for celebrations where you want something that looks effortlessly elegant but comes together in under an hour. It's proof that the best entertaining isn't about complexity—it's about thoughtfulness and a willingness to play with color and texture.
Questions & Answers
- → What types of donuts work best for the tower?
Mini donuts in plain, glazed, or assorted flavors provide variety and shape well on the cone or stand.
- → How do I keep the flowers fresh on the tower?
Use edible flowers that are pesticide-free and add them just before serving to maintain freshness.
- → Can I prepare the tower in advance?
The tower can be assembled a few hours before, then loosely covered and refrigerated up to 4 hours.
- → What is the best way to attach the donuts securely?
Use toothpicks or wooden skewers to fasten the donuts to a foam cone or tiered stand starting from the bottom up.
- → Are there alternatives to the glaze for decorating?
Simple powdered sugar mixed with milk or water works beautifully, and food coloring can add pastel hues if desired.