 Save
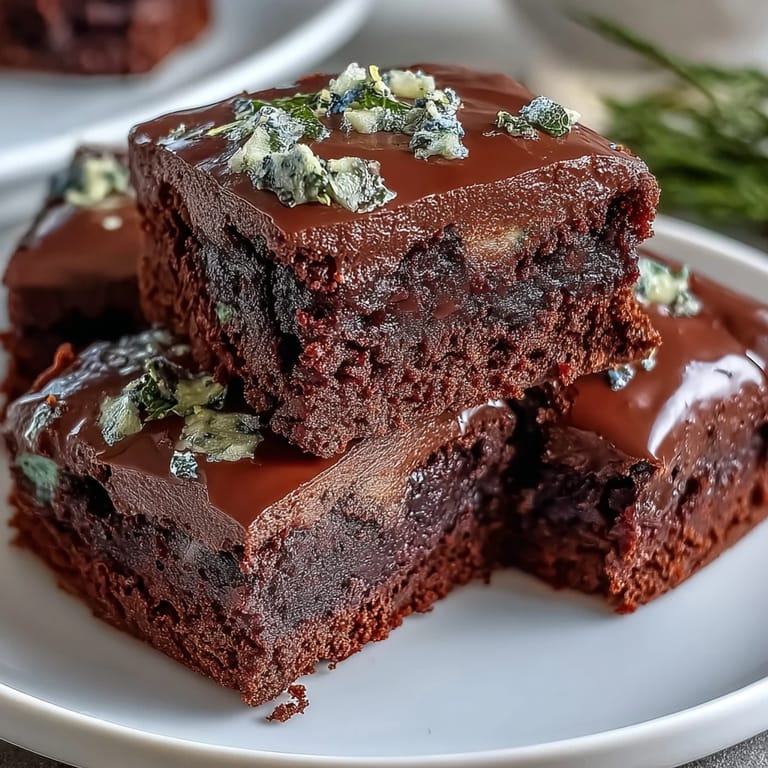
Save My neighbor showed up at my door in mid-March with a box of store-bought brownie bites that tasted like cardboard mixed with regret, and I found myself thinking, there has to be something better for St. Patrick's Day. That evening, I started experimenting with mint and chocolate in my tiny kitchen, the smell of peppermint extract mixing with cocoa powder in a way that felt oddly festive. These brownie bites came together almost by accident, but they've become the thing people actually ask me to make when the holiday rolls around.
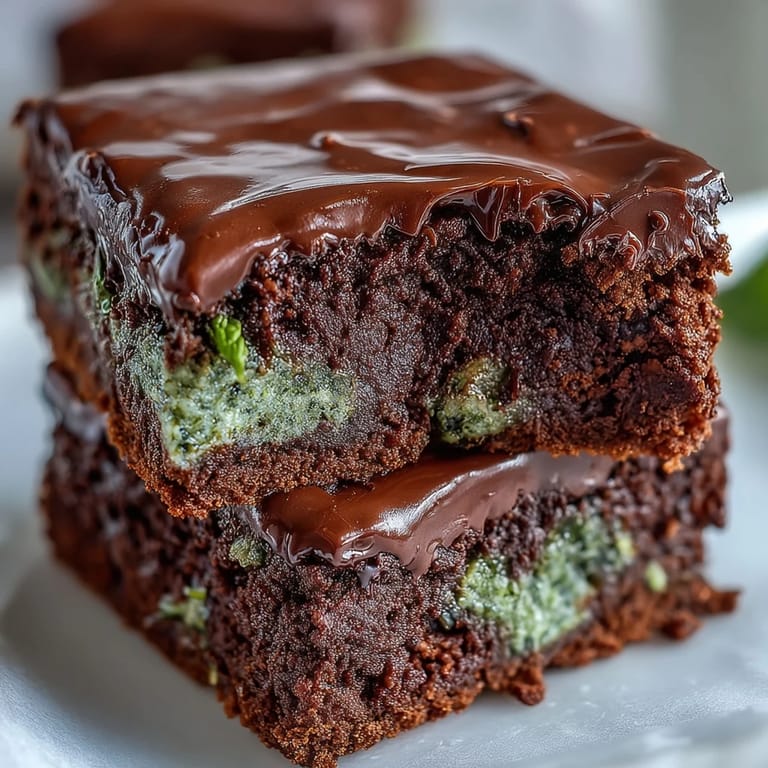
I made these for my book club last year, and someone asked if I'd used professional equipment because they couldn't believe how fudgy they stayed even after days in a container. That moment of someone genuinely impressed by something you pulled together in your own kitchen stays with you. Now whenever March comes around, I get texts reminding me it's brownie bite season.
Ingredients
- All-purpose flour (3/4 cup): Keep it measured level, not packed, or your bites will taste dense instead of tender.
- Unsweetened cocoa powder (1/2 cup): The real stuff matters here, not the sweetened kind that hides in the baking aisle.
- Baking powder (1/2 tsp): This lifts them just enough so they're not hockey pucks.
- Salt (1/4 tsp): It brings out the chocolate flavor and keeps things balanced.
- Unsalted butter (1/2 cup, melted): The richness comes from here, so don't skip it or use oil as a substitute.
- Granulated sugar (1 cup): This is what makes them fudgy, so resist the urge to cut back.
- Large eggs (2): Room temperature eggs mix smoother and create a better crumb structure.
- Pure vanilla extract (1/2 tsp): The vanilla is background music, letting mint and chocolate be the stars.
- Peppermint extract (1/2 tsp): Start here and taste the batter to decide if you want more, but less is honestly more.
- Green food coloring (2-3 drops): Totally optional, but it's what makes them feel festive without looking artificial.
- Mini chocolate chips (1/2 cup plus more for topping): They distribute better than regular chips and melt into pockets of chocolate joy.
- Chopped Andes mints or mint chocolate pieces (1/4 cup): These add a textural surprise and extra mint punch if you want it.
Tired of Takeout? 🥡
Get 10 meals you can make faster than delivery arrives. Seriously.
One email. No spam. Unsubscribe anytime.
Instructions
- Prepare your pan:
- Preheat your oven to 350°F and get your mini muffin tin ready, either greased or lined with tiny liners. This step takes two minutes but saves you from frustrated picking later.
- Mix the dry base:
- Whisk together flour, cocoa powder, baking powder, and salt in a medium bowl, breaking up any cocoa lumps as you go. You want this to look uniform and smell deeply chocolatey.
- Create the wet foundation:
- In a large bowl, whisk melted butter and sugar until they're combined and feel a tiny bit gritty, then add eggs one at a time, whisking after each one. Once it's smooth, stir in vanilla, peppermint extract, and green coloring if you're using it.
- Bring it together:
- Fold the dry mixture into the wet mixture slowly until just combined, which should take about six or seven folds. Overmixing turns brownie batter dense and angry, so stop while you can still see tiny streaks of flour.
- Add the mix-ins:
- Gently stir in the mini chocolate chips and chopped mint pieces, distributing them as evenly as you can. The batter will look thick and fudgy, which is exactly what you want.
- Fill and top:
- Spoon batter into each mini muffin cup until about three-quarters full, then sprinkle extra chocolate chips on top of each one. The chips on top will create those little melted pools that everyone reaches for first.
- Bake to fudgy perfection:
- Bake for 13 to 15 minutes, checking at 13 by inserting a toothpick in the center of one bite. It should come out with a few moist crumbs clinging to it, not clean and not covered in batter.
- Cool with patience:
- Let them sit in the tin for five minutes to set up, then transfer to a wire rack to cool completely. This resting time is when they firm up and develop that fudgy texture that makes people close their eyes when they bite in.
 Save
Save There's something special about serving these at a gathering and watching someone taste mint chocolate together in brownie form for the first time. They always look surprised, then happy, and suddenly your kitchen smells like celebration and cocoa.
The Mint-to-Chocolate Ratio
I learned the hard way that peppermint extract is potent, and when I first made these I added a full teaspoon thinking more would be festive. It wasn't festive, it was like eating a candy cane dipped in fudge, and I had to remake the batch. Now I start with half a teaspoon and do a texture test by mixing a tiny spoonful of batter on my finger to taste before it goes into the oven. If you're a mint fanatic, you can push it to three-quarters of a teaspoon, but anything more than that and the chocolate gets lost.
Storage and Gifting
These keep beautifully in an airtight container for five days, and they actually taste better on day two when the flavors have had time to marry. I've packed them in small mason jars with green tissue paper and given them to friends, and they always feel like a more thoughtful gift than something store-bought. The texture holds up through transport, the smell doesn't fade, and they look intentional sitting in a jar.
Variations and Adjustments
Once you nail the base recipe, you can experiment in tiny ways that change the whole feeling of these bites. I've made versions without the green coloring for people who prefer subtlety, doubled the Andes mints for mint-forward versions, and even swapped half the mini chips for crushed candy canes in December. The recipe is flexible enough to become your own thing.
- If you don't have peppermint extract, use a quarter teaspoon of almond extract and two teaspoons of crushed Andes mints stirred into the batter instead.
- For a less minty version, reduce the peppermint extract to a quarter teaspoon and skip the Andes mints entirely, letting the chocolate be the main character.
- Store in the coldest part of your fridge if you're in a warm climate, as the chocolate can start to bloom if left at room temperature too long.
 Save
Save These brownie bites have quietly become my St. Patrick's Day signature, and I make them the way you make something you've learned by doing it over and over. There's no pretension in a warm brownie bite, just chocolate, mint, and the small joy of sharing something good.
Questions & Answers
- → Can I use regular chocolate chips instead of mini ones?
Yes, substituting regular chocolate chips works fine but mini chips disperse more evenly, offering consistent bites.
- → What gives these brownie bites their mint flavor?
The peppermint extract adds a refreshing minty note that complements the rich chocolate base perfectly.
- → Is green food coloring necessary?
No, it's optional and mainly used to add a festive green hue without altering the flavor.
- → Can I omit the chopped Andes mints?
Absolutely, leaving them out results in a classic mint-chocolate flavor focused on the extracts and chips.
- → How should I store these brownie bites?
Store in an airtight container at room temperature for up to 5 days to maintain freshness and texture.