 Save
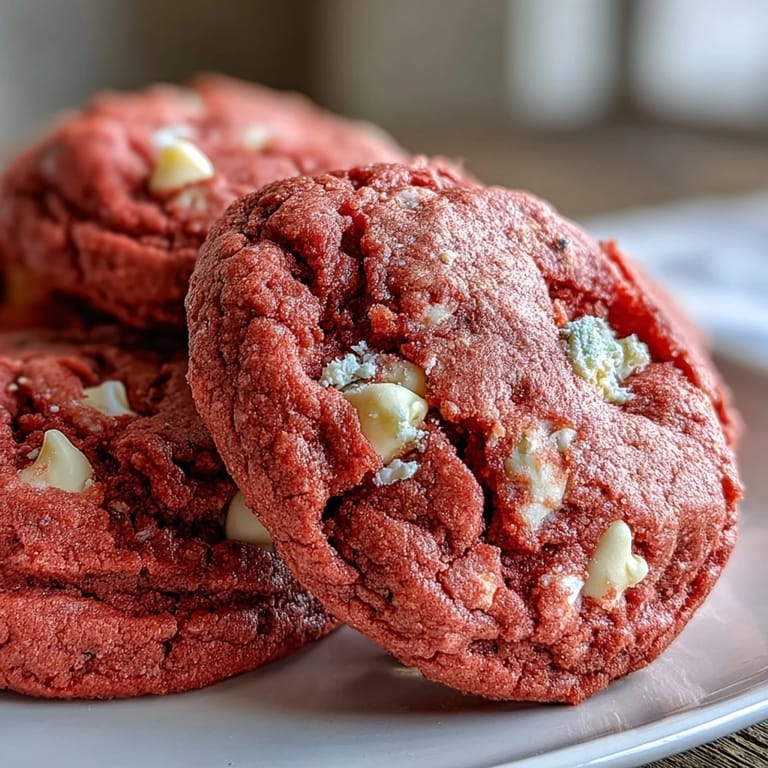
Save My kitchen smelled like a bakery on a random Tuesday when I decided to dye cookie dough pink just to see what would happen. I wasn't planning anything special, no party or occasion, just a craving for something cheerful. The dough turned this gorgeous bubblegum shade that made me smile every time I opened the fridge. When they came out of the oven, soft and dotted with melted white chocolate, I knew I'd stumbled onto something worth keeping. Now they're my go-to whenever I need a little color in my life.
I brought a batch to a friend's baby shower once, thinking they'd blend in with all the pastel decorations. Instead, they disappeared faster than anything else on the dessert table. People kept asking if they were strawberry or raspberry flavored, surprised to learn it was just vanilla with a pop of color. One guest told me they reminded her of childhood birthday parties, which wasn't what I intended but made me love them even more. Food has a funny way of stirring up memories we didn't know we were carrying.
Ingredients
- All-purpose flour: The foundation that gives these cookies their tender chew, measure it properly by spooning into the cup and leveling off.
- Baking powder and baking soda: This duo creates the perfect lift and spread, don't skip the chill time or they'll flatten too much.
- Salt: Just enough to make the sweetness sing without tasting salty.
- Unsalted butter: Softened to room temperature so it creams smoothly with the sugar, this is where the rich flavor starts.
- Granulated sugar: Creaming it with butter adds air and creates that crackly top we all love.
- Egg: One large egg binds everything together and adds moisture.
- Vanilla extract: Pure vanilla is worth it here, the flavor shines through in every bite.
- Pink gel food coloring: Gel is the secret, liquid coloring makes the dough too wet and the color never gets this vibrant.
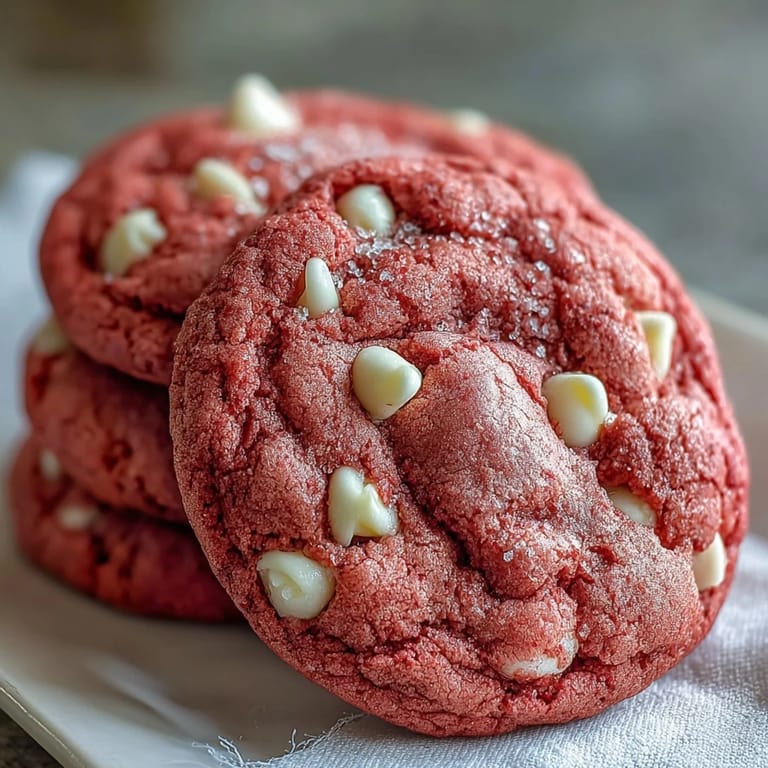
- White chocolate chips: They melt into creamy puddles and contrast beautifully with the pink dough.
Tired of Takeout? 🥡
Get 10 meals you can make faster than delivery arrives. Seriously.
One email. No spam. Unsubscribe anytime.
Instructions
- Mix the Dry Ingredients:
- Whisk together the flour, baking powder, baking soda, and salt in a medium bowl. This ensures even distribution so you don't get pockets of leavening or salt.
- Cream the Butter and Sugar:
- Beat the softened butter and sugar with a mixer for two to three minutes until the mixture looks pale and fluffy, almost like frosting. This step is crucial for texture, so don't rush it.
- Add Egg and Color:
- Beat in the egg and vanilla until smooth, then add the pink gel food coloring. Start with two teaspoons and add more if you want a deeper shade, mixing until the color is even throughout.
- Combine Wet and Dry:
- Gradually add the flour mixture to the wet ingredients on low speed, mixing just until no white streaks remain. Overmixing makes cookies tough, so stop as soon as it comes together.
- Fold in Chocolate Chips:
- Use a spatula to gently fold in the white chocolate chips, distributing them evenly. A few extra chips on top before baking makes them look bakery-perfect.
- Chill the Dough:
- Cover the bowl with plastic wrap and refrigerate for thirty minutes. This step keeps the cookies from spreading into flat puddles and helps them hold their pretty shape.
- Preheat and Prep:
- Heat your oven to 350°F and line two baking sheets with parchment paper. Don't skip the parchment, it prevents sticking and makes cleanup a breeze.
- Shape the Cookies:
- Scoop tablespoon-sized balls of dough and place them two inches apart on the sheets. They'll spread a little, so give them room to breathe.
- Bake to Perfection:
- Bake for ten to twelve minutes until the edges are set but the centers still look soft. They'll seem underdone, but that's the secret to keeping them chewy.
- Cool and Enjoy:
- Let the cookies rest on the baking sheets for five minutes to firm up, then transfer to a wire rack. They're best slightly warm, when the white chocolate is still a little melty.
 Save
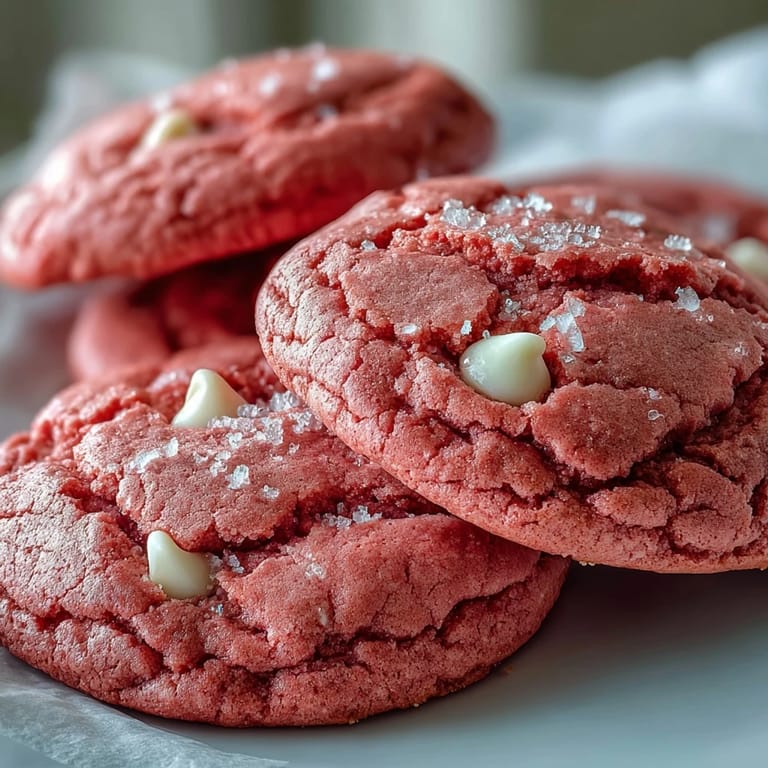
Save There's something about pulling a tray of bright pink cookies from the oven that just makes you feel like you're celebrating, even on an ordinary day. I've made these for Valentine's Day, baby showers, and random Wednesdays when I needed a pick-me-up. Once, my neighbor's daughter told me they looked like princess cookies, and now that's what I call them in my head. They've become my way of adding a little joy to the everyday, proof that sometimes the simplest things can lift your spirits.
Storing and Keeping Them Fresh
These cookies stay soft and chewy for up to a week when stored in an airtight container at room temperature. I like to tuck a piece of bread in the container, an old baker's trick that keeps cookies from drying out. If you want to freeze them, layer them between parchment paper in a freezer-safe container for up to three months. They thaw quickly on the counter, or you can warm them in the microwave for ten seconds to get that fresh-baked feel again.
Making Them Your Own
The beauty of these cookies is how easy they are to customize without changing the basic recipe. Swap the white chocolate for dark chocolate chips if you want a richer flavor, or try mini chocolate chips for more even distribution. A half teaspoon of almond extract adds a subtle sophistication, and a few drops of rose water turn them into something almost fancy. I've even sandwiched them with cream cheese frosting for a dessert that feels over-the-top in the best way.
What to Serve Alongside
These pink velvet cookies pair beautifully with a cold glass of milk, obviously, but they're also wonderful with hot tea or coffee in the afternoon. I love setting them out with vanilla ice cream for a simple dessert that looks more impressive than it is. They're soft enough to crumble over yogurt or fresh berries for breakfast, though I won't judge if you eat them straight from the jar.
- Serve them warm with a scoop of strawberry ice cream for a pink-on-pink treat.
- Pack them in clear bags tied with ribbon for the easiest homemade gift.
- Stack them on a pretty plate for any gathering and watch them vanish.
 Save
Save Baking should feel like play sometimes, not just following instructions, and these cookies remind me of that every time. I hope they bring as much brightness to your kitchen as they've brought to mine.
Questions & Answers
- → How do I achieve the vibrant pink color?
Use pink gel food coloring rather than liquid for the most vibrant hue. Start with 2 teaspoons and add more if desired. Gel coloring provides concentrated color without adding excess moisture to the dough.
- → Why is chilling the dough necessary?
Chilling for 30 minutes helps the dough hold its shape during baking and prevents excessive spreading. This step also enhances flavor development and results in thicker, softer cookies with better texture.
- → Can I use liquid food coloring instead?
While possible, liquid food coloring may alter the dough consistency and require additional flour. Gel coloring is recommended for optimal results. If using liquid, add it sparingly and adjust flour as needed.
- → How should I store these cookies?
Store in an airtight container at room temperature for up to one week. Place parchment paper between layers to prevent sticking. For longer storage, freeze baked cookies for up to three months.
- → What makes these different from regular chocolate chip cookies?
The pink coloring and white chocolate chips create a unique appearance and flavor profile. The velvety texture comes from the creaming method, which produces exceptionally soft and tender cookies with a delicate crumb.
- → Can I make these gluten-free?
Yes, substitute the all-purpose flour with a 1:1 gluten-free flour blend. The texture and taste remain similar, making them accessible for those with gluten sensitivities while maintaining the soft, chewy consistency.